

Installing the chat
The Otto chat goes on your website with one line of code. Here is where it goes, and how to set the language, a signed-in customer, cookie consent and CSP.
The chat code
In the panel open Overview, the Installation & integrations card, click Custom code and then Copy code. You get one line with your company’s public key:
<script async src="https://ottoai.sk/widget.js" data-otto-key="pk_vas_kluc"></script>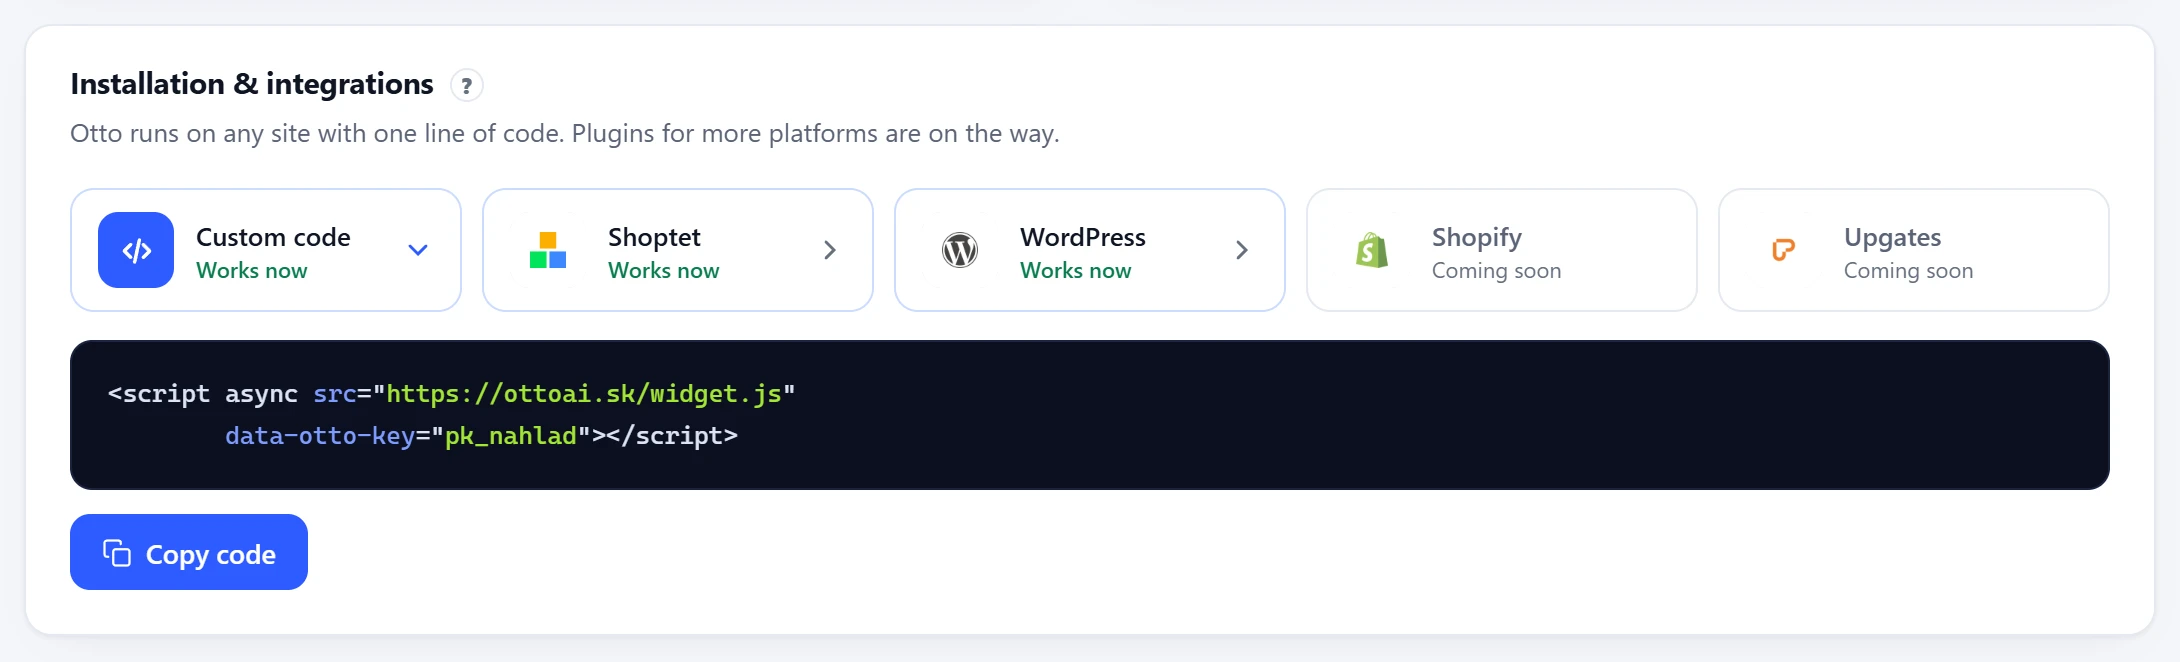
Put it into your website template right before </body>, ideally in the shared footer every page uses. The script loads asynchronously and does not slow down rendering.
pk_… is not a password, you do not need to hide it. It only tells Otto whose visitors to answer. The chat also only answers on the domain where you first launched it. If you need it on another domain, write to us. Only the API key is secret, and it never goes into website code.Where it goes
For Shoptet, WordPress, Shopify and Upgates, see Shoptet, WordPress and more. On a custom website or another system, look in the admin for a place for custom footer code, usually called Footer code, Custom HTML or Footer. Add it once, not on every page.
Chat language
By default the chat speaks the language set in the panel. If your website has several language versions, give each one its language with data-otto-lang set to sk, cs or en:
<script async src="https://ottoai.sk/widget.js" data-otto-key="pk_vas_kluc" data-otto-lang="en"></script>Signed-in customers
When a customer is signed in on your website, you can tell the chat who they are. Your colleague then sees their name and email with the conversation, and Otto does not have to ask. Either add the data-otto-name, data-otto-email and data-otto-phone attributes, or set window.ottoUser before the chat code:
<script>
  window.ottoUser = { name: "Jane Smith", email: "jane@example.com", phone: "+441234567890" };
</script>
<script async src="https://ottoai.sk/widget.js" data-otto-key="pk_vas_kluc"></script>Cookie consent
Otto keeps the conversation in browser storage and, for your colleagues in the panel, the pages visited and the number of visits. If your website asks for consent before such storage, add data-otto-suhlas with the name and value of the entry your consent banner stores:
<script async src="https://ottoai.sk/widget.js" data-otto-key="pk_vas_kluc" data-otto-suhlas="analytics_cookies=yes"></script>Otto then collects the visit history only when it finds analytics_cookies set to yes in localStorage. Without consent it only sends the current page and the browser language. If you leave out the value after the equals sign, Otto expects ano.
Content-Security-Policy
If your website sends a Content-Security-Policy header, allow Otto’s domain for scripts and connections, including the WebSocket. If you also restrict images, add ottoai.sk, data: and the domain your product images come from.
script-src  'self' https://ottoai.sk;
connect-src 'self' https://ottoai.sk wss://ottoai.sk;
img-src     'self' data: https://ottoai.sk https://images.your-shop.com;
The chat adds its styles through the CSSOM into its own Shadow DOM, so you do not need to change style-src, and your website styles do not affect the chat.
Checking it works
- Open your website and reload. A chat bubble should pop up in the bottom right.
- In the panel, Settings, Connections, the Your website row shows the domain the chat runs on.
- To try it without your website, use Try it as a customer in Settings.
[Otto].Single-page apps
In React, Vue or Next.js apps, add the code once to the main template, not to a component that renders again. The chat starts once and keeps running when the URL changes without a reload.